
If Disturbance Ground Zero gets the campaign moving, Welcome to the Sedgewick Hotel is where the game really starts feeling like Ghostbusters.
Slimer is loose, the hotel is in trouble again, and the whole mission carries the exact kind of mix this game needed early: familiar franchise history, messy interior combat, environmental chaos, and a setting that is fun to haunt.
Quick guide links
- Realistic / HD Campaign / Walkthrough for the full mission map on this branch.
- Realistic / HD Version Guide if you want the bigger branch overview.
- Level 2 transcript if you want the dialogue and cutscene order for this chapter.
- Tools of the Trade and Tips for Rookie Ghostbusters if a gadget gate, boss, or combat stretch is slowing you down.
- Previous chapter: Disturbance Ground Zero
- Next chapter: Panic in Times Square
Playable walkthrough
The first Sedgewick visit is where the realistic branch starts feeling like a real haunted-location crawl. The route itself is readable: find Slimer, clear the lobby interruption, cut through the kitchen, then survive the flooded solo stretch until the Angry Fisherman finally stops running.
Before you start
- Keep the P.K.E. Meter handy. Slimer and the Fisherman both like to hide just long enough to make the next turn feel less obvious than it is.
- In the kitchen and service corridors, assume clutter is meant to be moved, not brute-forced.
Step-by-step walkthrough
- Ride up and start the Slimer hunt on the twelfth floor. Follow Ray and Peter into the elevator, take the first hall to the left, and be ready for thrown furniture as soon as Ray says he has contact.
- Scan the wall, then the vase, to keep the trail alive. Once the meter tutorial starts, investigate the wall Slimer escaped through and follow the reading to the vase at the end of the hall on the right. That scan flushes the chase into its next loop.
- When Peter yells, cut into the side rooms and free him fast. Stay just behind Ray, hit the right-hand doors when the radio call comes in, and get Peter unstuck before you waste time combing the corridor for another clue.
- Back downstairs, finish the Bellhop Ghost fight before assuming the chase can resume. Help trap the bellhops in the lobby area, then deal with the next burst when Slimer pops back up. If even one ghost is still roaming, the hotel can feel stalled for no good reason.
- Take the kitchen shortcut when the manager blocks the ballroom route. Follow Peter around the side entrance, scan the black slime, clear the Dead Fish Fliers, and pull the big appliance out of the way when the corridor pinches shut.
- Recapture Slimer in the ballroom by snapping back to the meter every time he hides. Keep the pressure on him over the tables and buffet, dodge the slime charge instead of tanking it, and when he vanishes, stop guessing and reacquire him with the P.K.E. reading. Once he weakens enough, trap him cleanly and move on.
- Clear the lobby one more time, then commit to the Fisherman chase. The secret bar-side passage is optional if you want the side reward, but the real route is back out through the main hall and into the stair collapse scene that leaves you alone in the flooded hotel.
- Use the flooded hall to read the Fisherman’s route instead of panicking at the set dressing. Move past the waterlogged rooms, check the obvious haunted objects like the vending-machine stretch, and keep following the strongest reading even when the hall seems to double back. The ocean effect is there to throw you off, not to hide a complicated maze.
- Push through the Candelabrum Crawler pockets without lingering. They hit hard in groups, but they are still speed bumps. Clear the cluster in front of you, press to the next reading, and keep climbing toward Sargassi’s.
- In Sargassi’s, find the Fisherman quickly and keep him in front of you. He shifts sides fast and likes to attack from behind if you lose him. The moment he relocates, turn, reacquire, and start firing again rather than chasing a bad angle across the whole room.
- Beat the Kitchen Golem from range, then finish the real target with the full team. When the exit door sequence turns into a golem fight, keep your distance, break it down, wrangle the inhabiting ghost free, and then return to the Fisherman with the others finally backing you up. Once his health drops, drag him into the trap and let the outside Stay Puft reveal close the chapter.
What usually trips players up
- If the ballroom seems empty but the mission will not advance, Slimer is usually hiding and waiting for you to check the meter again.
- The flooded hotel works better if you trust the signal and keep moving. Trying to “solve” the whole floor plan just wastes time.
The Sedgewick chapter
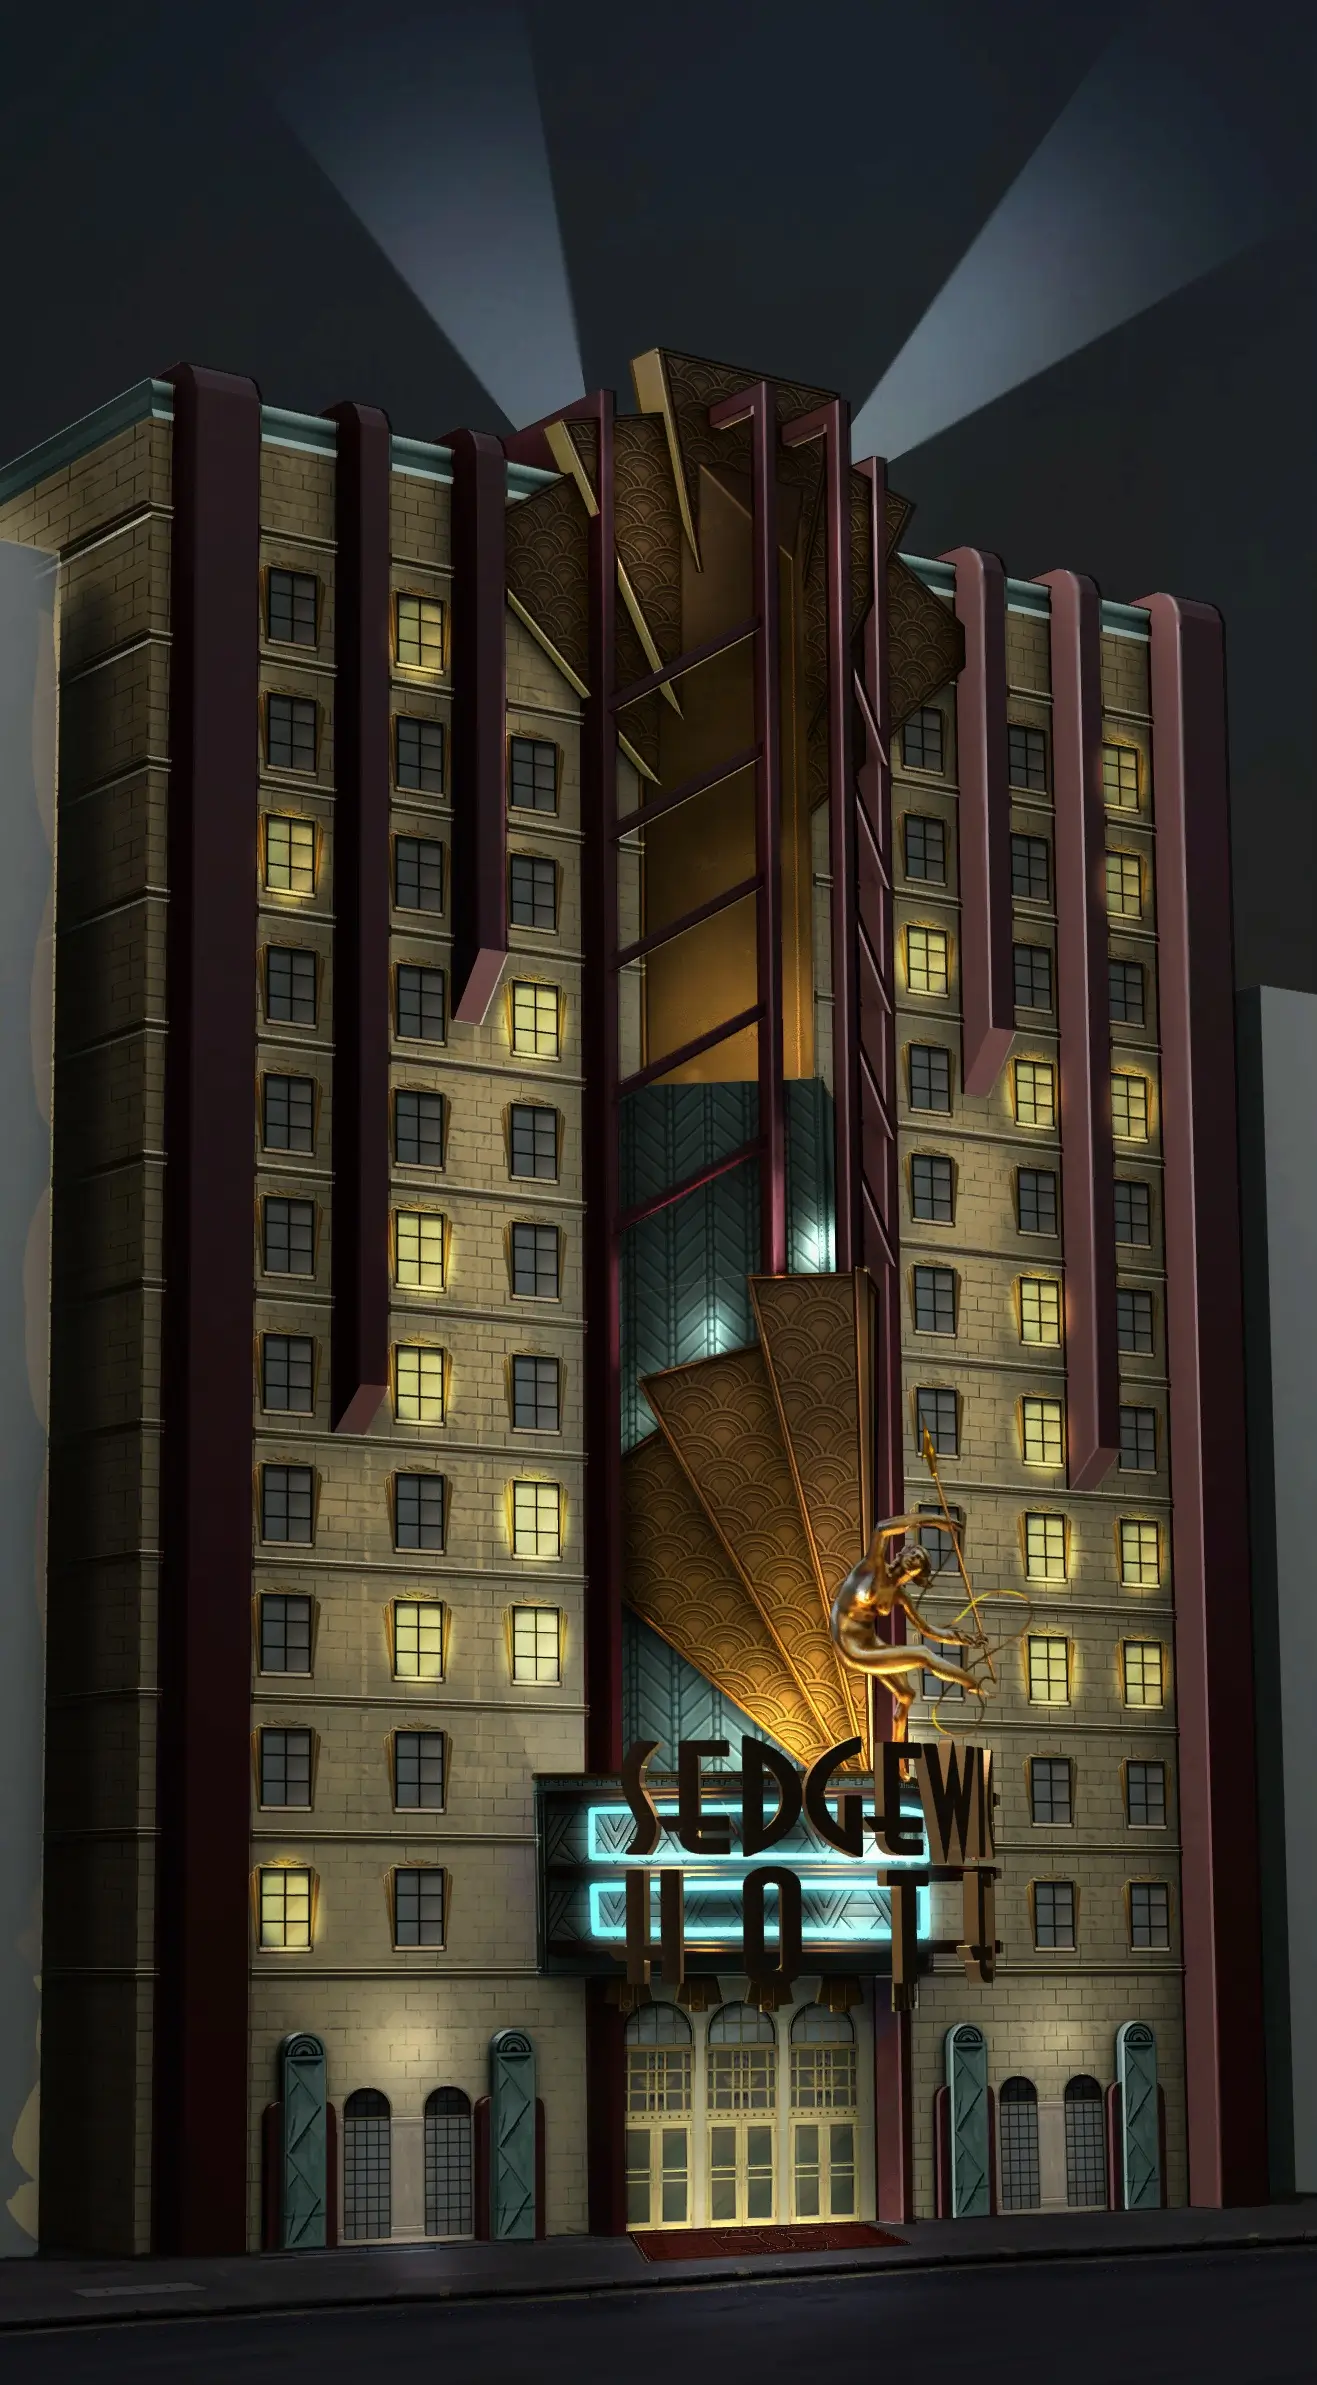
The Sedgewick is more than a nostalgia stop. It earns its place. Bringing the campaign back to one of the most memorable locations from the first film is smart on its own, but the mission also uses the hotel well. It gives you narrow hallways, elevators, service spaces, ballrooms, and room-to-room escalation that makes the haunting feel like it is spreading around you instead of waiting in tidy combat zones.
It helps the chapter feel alive. Slimer is not standing in one place waiting for you. He is leading you deeper into a building that is getting stranger the farther in you go.
What the mission teaches
It is one of the first chapters where the new hire really has to settle into the job. The mission pushes tracking, scanning, tighter fights, and the kind of room control you need once the environment gets cluttered.
The mission is also a good reminder that Ghostbusters combat works best when it feels a little unruly. This is not a march through sterile arenas. It is dangerous work inside a hotel full of breakable objects, possessed spaces, and ghosts that do not plan on lining up politely for capture.
Slimer is the perfect early problem
Using Slimer here does a lot of work. He instantly ties the mission back to the original movie, but he also fits the tone of the game. He is disruptive, evasive, funny, and gross in exactly the way a good early Ghostbusters nuisance should be.
That gives the mission personality. It is not some abstract threat. It is one of the franchise’s signature troublemakers wrecking a place he already made famous.
What to watch for in this chapter
- how the hotel layout forces you to manage angles and clutter
- how the mission turns scanning and pursuit into part of the pacing
- how the game starts leaning harder into property damage and environmental mess
- how the setting itself does half the storytelling
What still stands out
A lot of players remember the Sedgewick chapter because it is one of the first places where the game’s identity fully clicks. The Rookie is in the field, the team is talking like themselves, the setting is loaded with Ghostbusters history, and the chapter is fun even before the bigger campaign revelations arrive.
That is a big deal. Early missions need to do more than function. They need to make you want to keep going. The Sedgewick absolutely does.
The chapter’s payoff
The Sedgewick Hotel is where the campaign stops feeling like setup and starts feeling like a real case file. Once the team is chasing Slimer through those halls, the question of whether the game can capture the Ghostbusters mood is already settled.
Be the first to comment