
If you are doing more than a straight story clear, this is the part of the section you want open in another tab. Ghostbusters: The Video Game hides enough side material that cleanup gets much easier once the useful pages are stacked beside the mission guide instead of buried in a catch-all archive.
Most of the cleanup structure below follows the realistic / HD campaign order. If you are on the Wii or PlayStation 2 branch, start with the Stylized Campaign / Walkthrough and Stylized Boss Fights first, because those pages already carry branch-correct collectible and encounter notes.
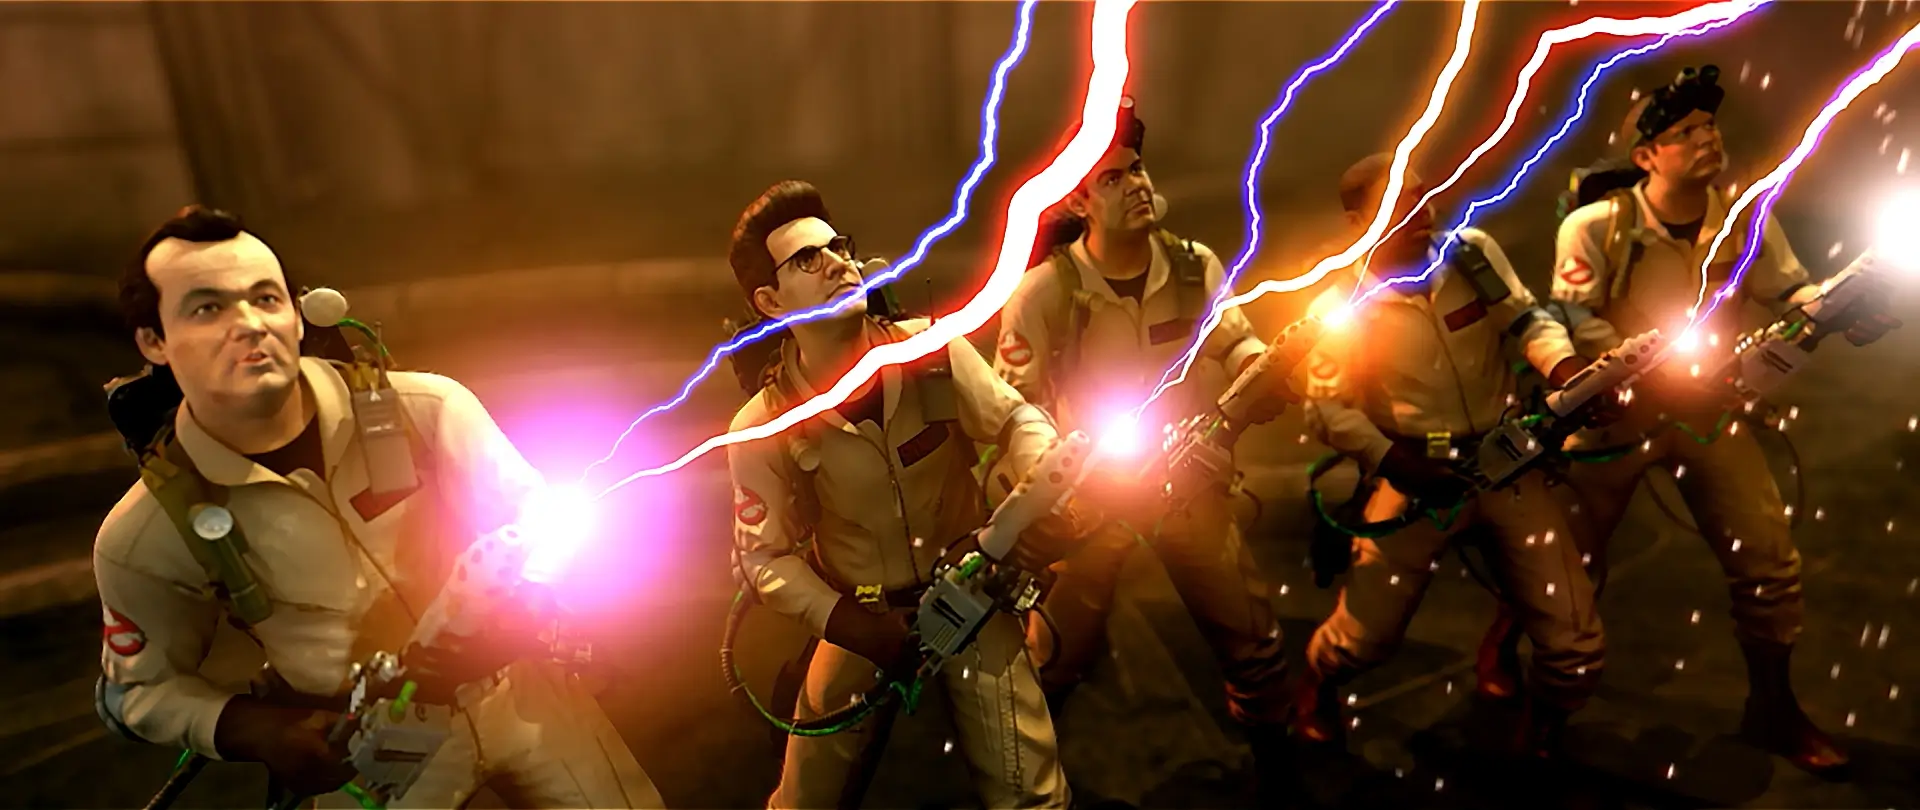
Quick cleanup pages
- Realistic / HD P.K.E. Scan Guide – the fastest route to Spirit Guide completion on the console/PC branch.
- Cursed Artifacts – the full artifact checklist, grouped by level.
- Water Fountain Locations – the fountain checklist for the Ghostbusters Drinking Game trophy or achievement.
- Achievements and Trophies – the broader campaign and multiplayer target list.
If you are on the stylized branch
Realistic / HD mission pages that matter for cleanup runs
- Disturbance Ground Zero
- Welcome to the Sedgewick Hotel
- Panic in Times Square
- Checking Out the Library
- Museum of (Super)Natural History
- Return to the Sedgewick
- Lost Island Rising
- Central Park Cemetery
Reference pages worth keeping nearby
- Levels and Missions
- Boss Fights
- Tools of the Trade
- Ghost Wrangling
- Ghostbusters Glossary
- Tobin’s Spirit Guide
Run the mission guide, grab the scans and artifacts while you are already in the room, and keep the trophy page nearby when you are down to the last loose ends.
Be the first to comment