Ghostbusters: The Video Game gives you a lot of tools early, but the upgrade layer is what turns those tools from decent starter gear into a loadout that actually matches how you fight. The out-of-print guide breaks the system down by attachment family, and that structure still works well on the web.
The real question is not whether upgrades exist. It is which ones actually change a fight, save heat, improve control, or make the more specialized pack modes worth using. If you want the broad pack overview first, start with Tools of the Trade in Ghostbusters: The Video Game. If you already know the tools and just want the upgrade layer, keep going.
How the upgrade layer is organized
The guide effectively splits upgrades into a few practical groups:
- core Proton Pack and Neutrona Wand tuning
- slime-based utility upgrades
- dark-matter control upgrades
- Meson Collider and Overload Pulse upgrades
- PKE Meter scan improvement
- trap-speed and trap-control upgrades
That is a much more useful way to think about the system than staring at the full board and buying whatever sounds scientific.
Proton Pack and Neutrona Wand upgrades
The guide calls out two especially clean early improvements here:
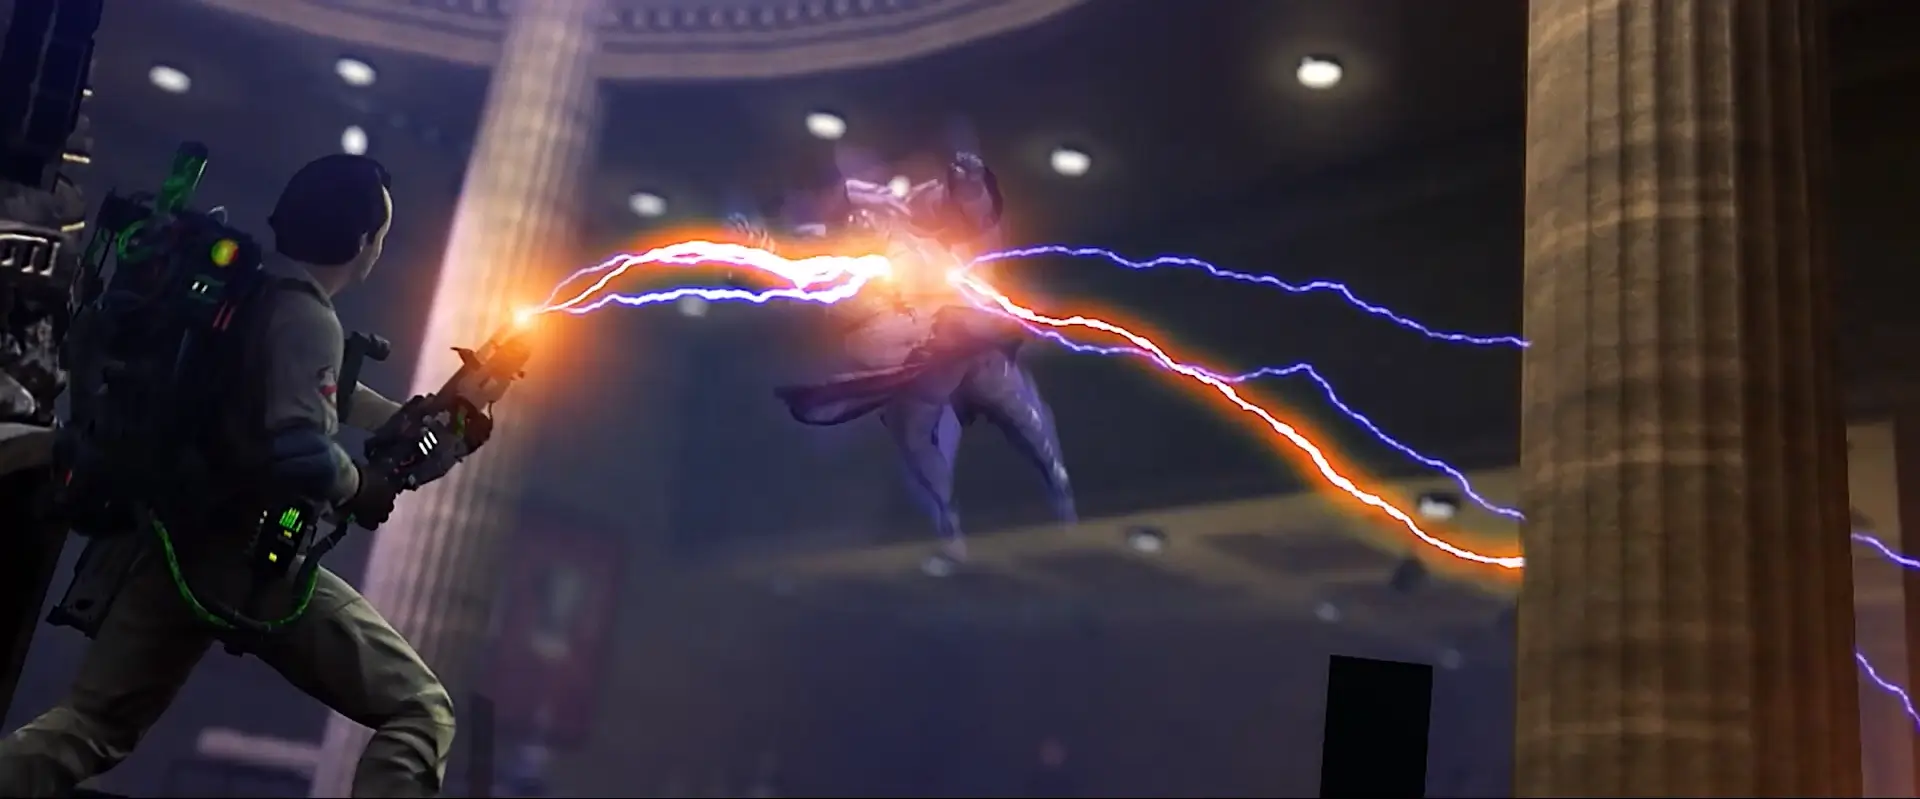
- Blast Stream Focusing reduces beam wandering, which makes the basic Proton Stream feel steadier and easier to keep on evasive targets.
- Boson Dart Supercharge lowers heat cost and increases Boson Dart damage, which is a strong combination because Boson Darts already hit hard and reward quick pressure.
If you lean on Boson Darts a lot, the guide is pretty blunt about their value. That upgrade can turn an already useful attack into one of your best damage tools.
Slime Blower and Slime Tether upgrades
The slime family gets four practical upgrades in the guide:
- Slime Blower Pressure Increase raises range and damage.
- Reduced Slime Consumption lets you keep firing longer before the tank forces a pause.
- Slime Tether Duration Increase creates longer-lasting tethers.
- Slime Tether Cost Reduction lets you fire more tethers before a shutdown.
This is one of the most situational branches early, but it becomes much more important once Black Slime-heavy areas and more puzzle-driven tether moments start piling up. The guide especially treats the range-and-damage increase as a real help against bulkier slime enemies.
Shock Blast and Stasis Stream upgrades
The dark-matter side of the pack is about crowd control and survival, and the guide frames the upgrades that way too.
- Shock Blast Recharge Increase raises your rate of fire.
- Shock Blast Heat Reduction lowers heat cost per shot.
- Stasis Stream Amplifier improves immobilization speed.
- Stasis Stream Heat Reduction lets you keep the stream active longer before overheating.
If you are getting swarmed, Shock Blast upgrades can feel like emergency breathing-room purchases. If you prefer slowing bigger threats, the Stasis upgrades do a lot to make the stream feel less like a novelty and more like a serious control tool.
Meson Collider and Overload Pulse upgrades
The guide treats this branch like a late-game power spike, and that feels right.
- Meson Collider Penetration adds shot penetration and splash potential.
- Meson Collider Accelerator improves rate of fire.
- Overload Pulse Accelerator increases rate of fire.
- Overload Pulse Enhancer increases damage.
Once those pieces start stacking, the guide clearly sees the Overload Pulse as one of your nastiest damage options, especially against targets with obvious weak points or boss-style exposure windows.
PKE Meter and trap upgrades
Not every upgrade is about raw damage. Some are about making the whole job smoother.
- PKE Meter Scan Improvement increases scan target size, which helps with faster logging on mobile or twitchy entities.
- Slam Dunk Trapping enables direct slam-dunk captures when a ghost is close enough to the trap.
- Fast Trap increases trap draw-down rate so captures finish faster.
The guide is especially enthusiastic about Slam Dunk Trapping, and it is not hard to see why. When encounters get crowded, faster captures can save a fight from turning sloppy.
Best-value upgrades for most players
If you are not trying to role-play a very specific style, the safest high-value group looks something like this:
- Boson Dart Supercharge for damage and heat efficiency
- Slam Dunk Trapping for faster captures under pressure
- Shock Blast improvements if swarms keep wrecking your spacing
- Slime Blower Pressure Increase once slime-heavy encounters start showing up more often
- Overload Pulse upgrades once you are deep enough into the campaign to really exploit them
The exact order can shift, but those are the upgrades that most clearly change the feel of play instead of nudging a number in the background.
What this page is really for
The out-of-print guide is useful here because it preserves the game’s intended logic. Every upgrade branch was built to solve a kind of problem: steadier stream control, better swarm management, stronger slime utility, cleaner trap work, or sharper boss damage. Once you read the board that way, the system makes much more sense.
That is also why this page belongs in the section. It keeps the original guide coverage alive, but in a cleaner format that is easier to scan when you are actually deciding what to buy next.